
Luxury Vinyl Flooring in Longmont, CO
Luxury Vinyl Tile (LVT) and Luxury Vinyl Plank (LVP), also sometimes referred to as resilient flooring, are designed to meet the demands of active families and those with busy lifestyles who still strive for beauty and luxury in their home.
What's the difference between LVT and LVP?
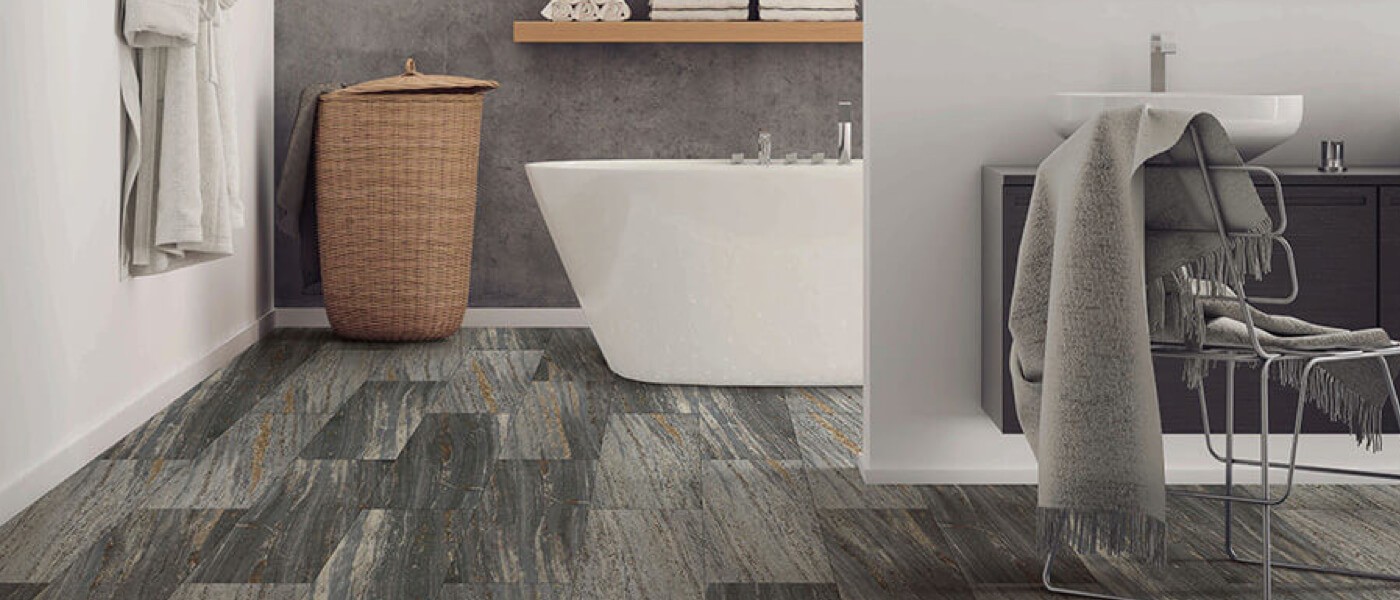
LVT (Luxury Vinyl Tile) is a product designed to mimic the look of stone or ceramic tile. Featuring gorgeous natural colors and textures, these vinyl floor tiles look and feel like the real thing. Some designs by Shaw Floors are even cleverly made to be installed using real grout.
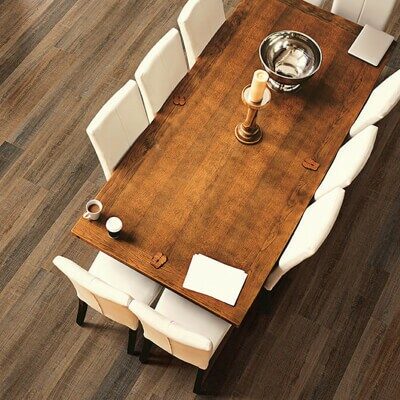
LVP (Luxury Vinyl Plank), meanwhile, serves the same function – but mimics hardwood planks, instead. These come in a variety of forms that include hand-scraped wood and embossing, and can be installed uniformly, staggered, or even diagonally for a fully customized and unique look!
One final form of vinyl is sheet vinyl, a cushioned flooring that gets glued directly to your subfloor. The Shaw Floors sheet vinyl designs available here at Bassett Carpets are just as beautiful and sophisticated as LVT or LVP, but because it’s all laid in one piece, it doesn’t achieve quite the same level of realism.
All Types of Vinyl
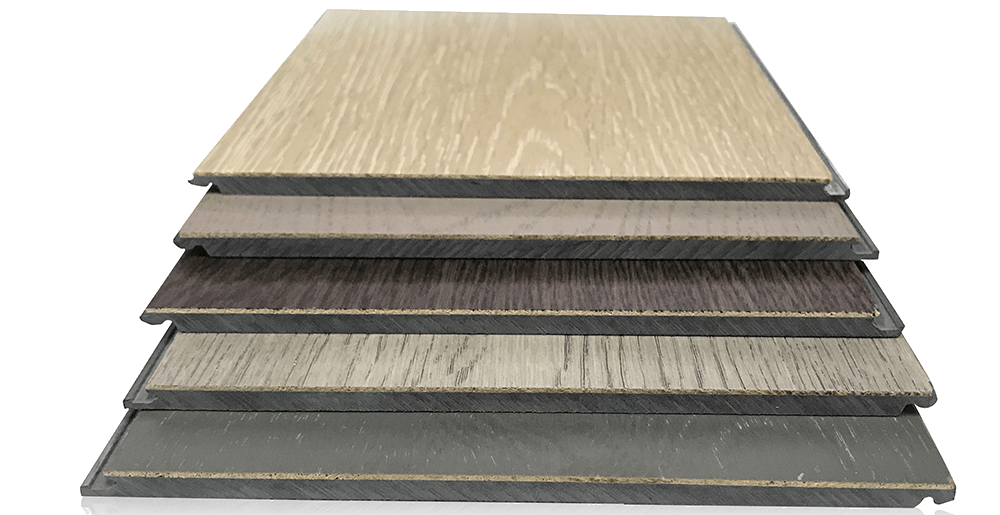
Vinyl flooring is a product made by layering different materials, including vinyl. The most common type of vinyl floor consist of 4 layers: a felt, fiberglass or vinyl backing; a core layer; a decorative layer with the flooring pattern; and a final “wear layer” on top that protects the flooring from scratches and scuffs.
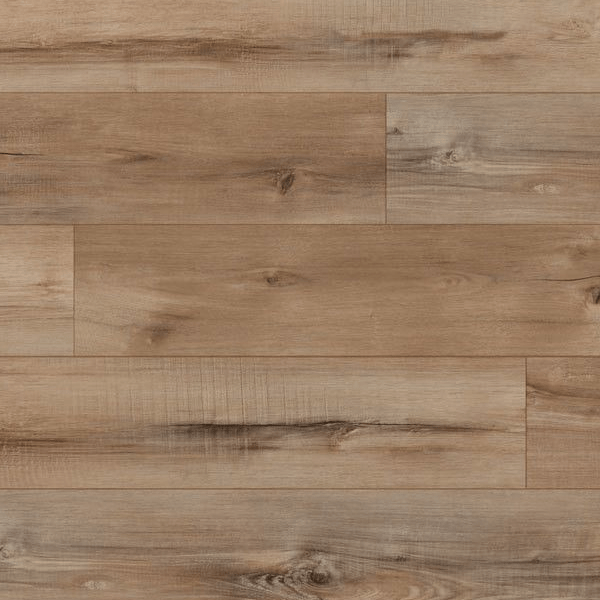
Wood-Look Vinyl Planks
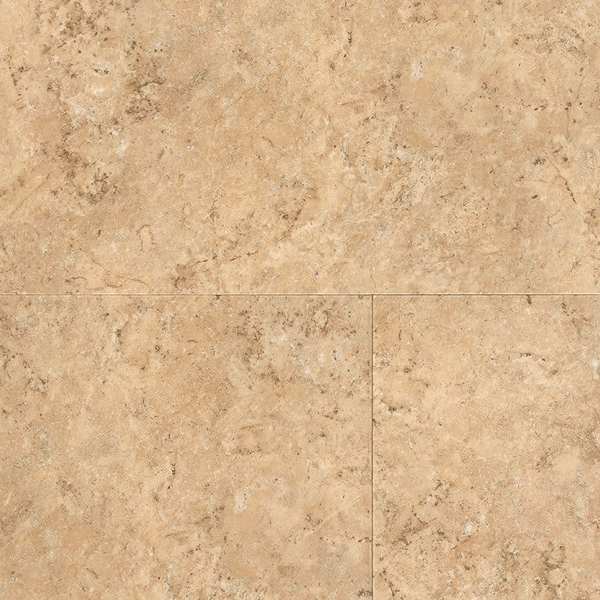
Tile-Look LVT
What is resilient flooring?
While resilient flooring is sometimes used interchangeably with vinyl flooring, the two are not similar. Resilient is actually a catch-all name for several different types of flooring that all share common features.
Resilient flooring can be defined as floors with give, or which bounce back. They occupy the middle ground between rigid, hard surface floors and soft surfaces such as carpet. Vinyl is one example, but this category also includes cork, rubber and linoleum. Resilient flooring is typically very durable, flexible and relatively inexpensive when compared to pure, natural materials.
Luxury vinyl is a type of resilient flooring engineered to resist some of the broader category’s downfalls; particularly, it will not dent as easily as other resilient products.
Still have questions about luxury vinyl or resilient flooring? The friendly experts at Bassett Carpets are here to help! Stop by our showroom, give us a call, or send us an email. We’re always happy to help, and we’d love to get you inspired about your next flooring project!